Showing posts with label basic makeup. Show all posts

Monday, 27 October 2014

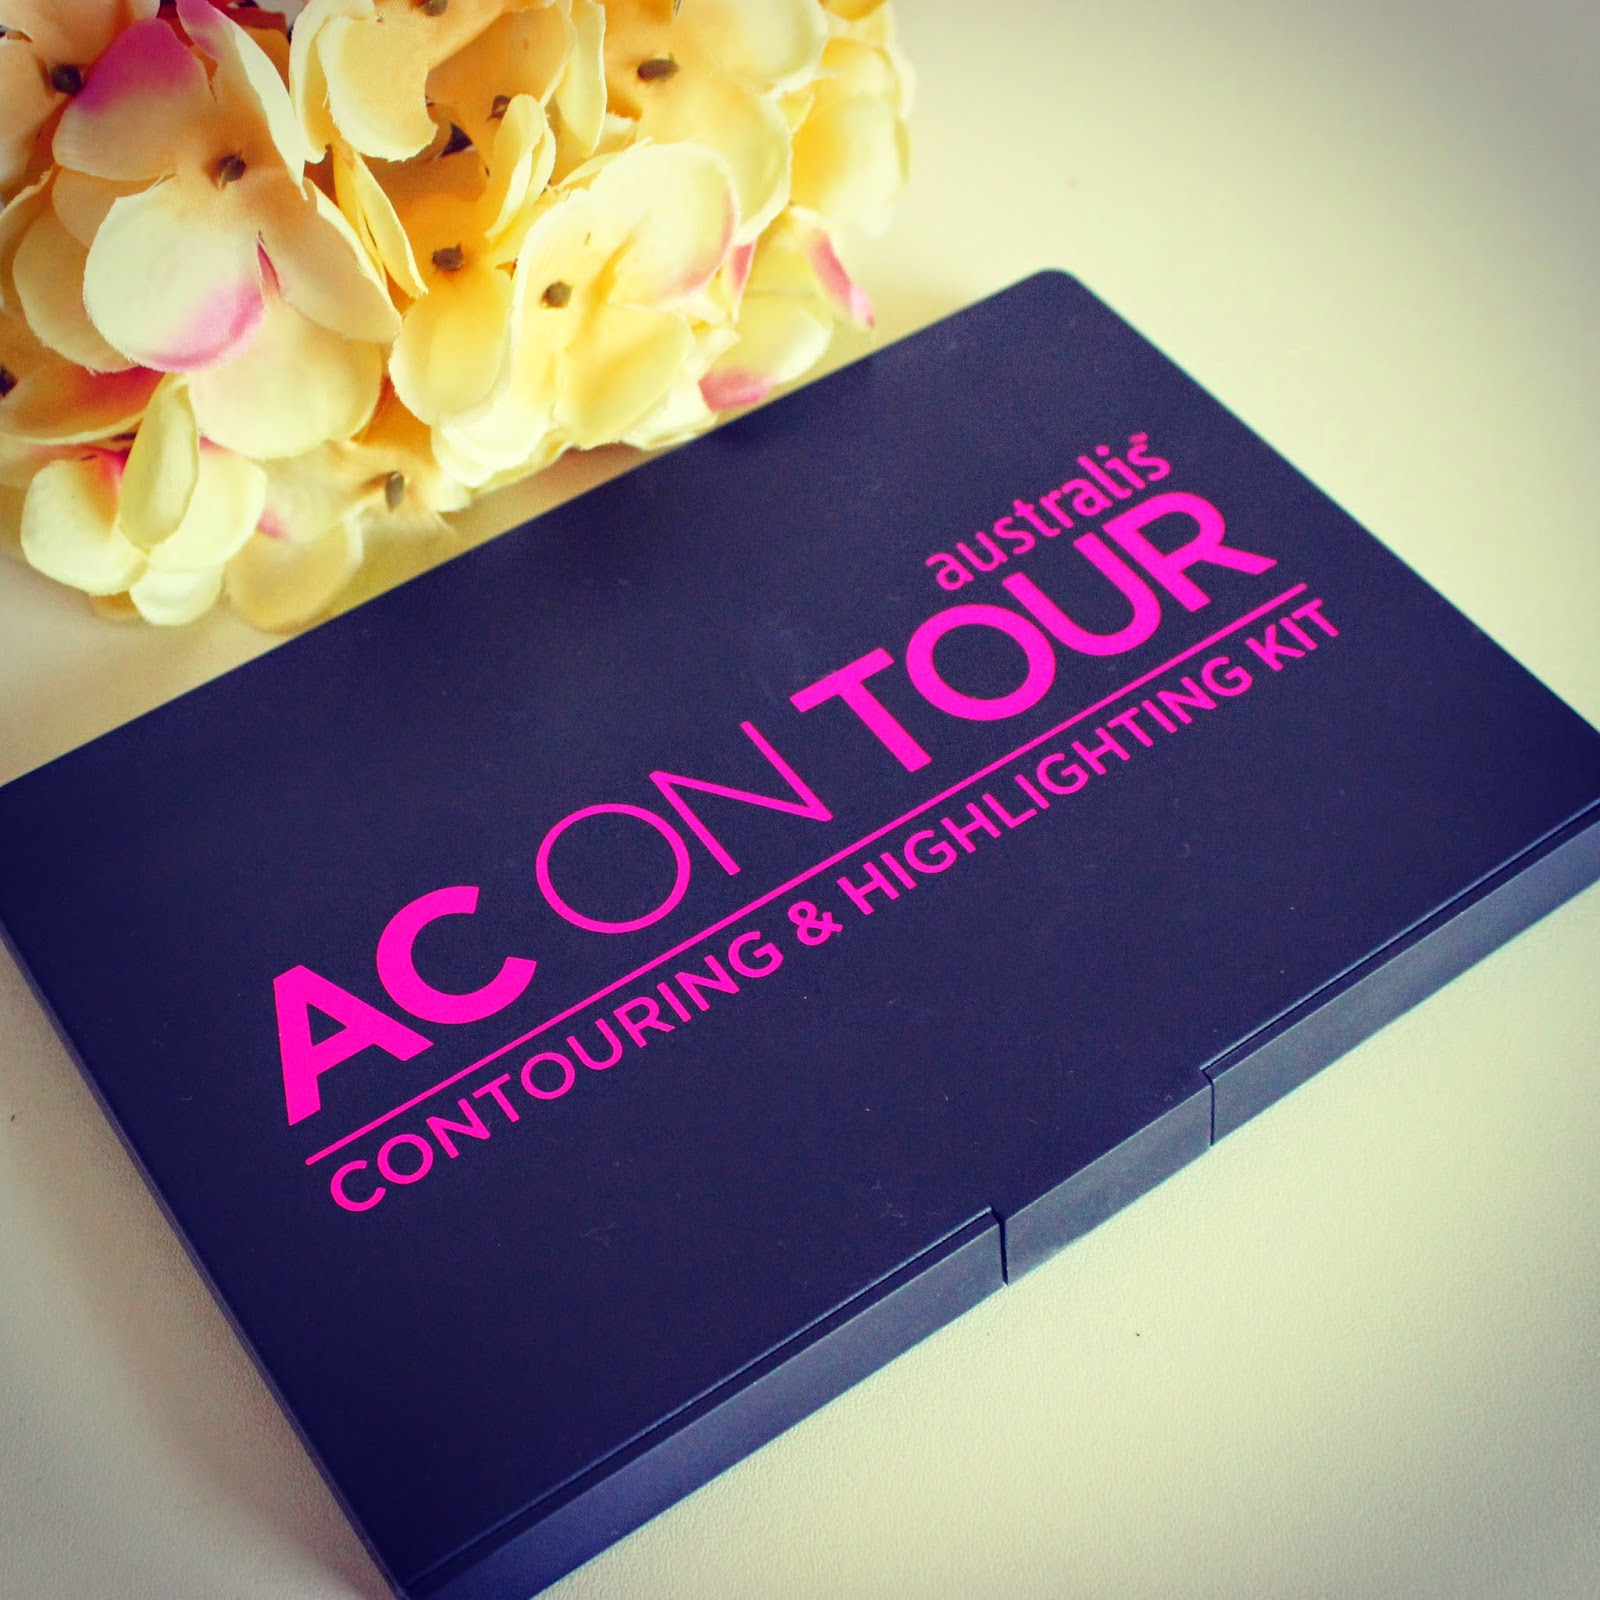
Australis AC On Tour Contouring Kit Review and Swatches

This palette has been the most talked about "MUST HAVE" product in the Australian makeup world for the last week and I think for the next few.
It has been compared to the Anastasia Beverly Hills contour palette. A lot of the beauty pages I follow on Instagram were raving about it and so of course I was eager to try it.


Contour palettes are always popular. Who remembers the demand of the Face of Australia glamazon palette last year.
And I am sure this one will be just as big.

Finding a decent contour palette is always a problem for me. I can be a bit fussy. I like matte bronzers and they are hard to find. So many nice bronzers have a shimmer to them.
Also some of the highlighting colours aren't right either.

So this palette is very versatile and there will be colours for everyone


The first 3 colours along the top are the lighter colours for highlighting 2 are matte and 1 is shimmery
and the 3 on the bottom are for contouring


One swipe on my finger and I was impressed with how pigmented each colour was 
shade 1 is a light pink tone highlighter
shade 2 is a yellow tone highlighter
and 3 is a beige kind of shimmer colour
Shade 4 is a red undertone brow 
shade 5 is more of a flat ash brown
and shade 6 is a deeper brown


I have worn it a few times now over the last week. Still playing around with the palette. Top photo is normal foundation and in the bottom picture I had fake tanned.


The palette is available on the Australis Cosmetics website or at Priceline and retails for $16.95

If you like my blogs and want to see more follow me on Instagram: @claudaciousmakeup
and don't forgot to follow me on blog lovin

Until Next Time
xoxo
Claudia


Wednesday, 3 September 2014

How to Contour


Contouring can be tricky. knowing what products to use, how and where to use them. Contouring use to be for runway models, celebrities and fashion photo shoots, but these days contouring is used in many peoples daily makeup routine. So for those who are still confused about contouring let me explain briefly.

 Contouring is about creating shape to the face and enhancing your facial features. So by using a dark shade it will recede areas and make them look smaller (nose, forehead, double chin) and by using lighter shades it enhances them (cheekbones, centre of nose, under the eye) The whole reason makeup artists contour their clients is to achieve the "perfect" oval face.

Here is my guide to contouring

I start with a fresh cleansed face. Apply primer all over and then my chosen foundation.
The highlighting and contouring part is different for everyone there is no correct product to use. All I can suggest is use a product a few shades lighter for highlighting and a product a few shades darker for contouring.


I personally like to use Maybelline Fit Me concealers. They are easy to use and the colours are great for me.

I start with applying light concealer (I use shade 15 Fair) and I apply this under my eyes, on my cheekbones, down the centre of my nose, on my cupids bow and on the centre of my forehead and chin and blend.


Next I apply the darker concealer (30 Cafe) to the hollows of my cheeks, the sides of my chin, temples and my hairline and the side of my nose. Blend


For some people this is enough but I like to do more.

I apply Physicians Formula Mineral Glow Pearls in Translucent pearl over my cheekbones and under my eyes.


Then I apply Revlon Matte Bronzer 035 Sun on the hollows of my cheeks. By doing this it adds shimmer to my cheekbones and highlights them more, especially when the light hits my face. The reason I like using a matte bronzer is because I am wanting my contouring to look natural.


Following the bronzer I then set my foundation and contouring with Face of Australia translucent loose powder and lightly dust my whole face with it. For my end look I kept it simple and went for a bronzed eye and bold lip as I wanted my base to be the focus.

Same makeup but lighting was different... sorry

hope you found this helpful. 

Until 

Sunday, 29 June 2014

Makeup on a budget

So recently I had a few friends ask about what products I could recommend them buying without spending a fortune. Which got me thinking, why not share my recommendations with you all. I know everyone loves a bargain and its always a bonus of getting decent makeup on a budget.

So I have put together a collection of makeup for a full face of makeup with each product costing less than $20 each. I own all of these products I have listed and wear them all :)
All products mentioned are available from Priceline.

Primer: Rimmel Stay Matte Primer RRP: $13.95
I own a lot of primers but have found I have been using this one quiet a bit lately. It comes out as a white cream without being too thick. Once applied onto my skin I can't see it.
It definitely makes my face look matte, fills in my pores and my foundation does last all day. I may have to powder my nose after 5-6 hours but that's not the end of the world.


Foundation: Rimmel Match Perfection Foundation RRP: $17.95
When I look for a new foundation my two concerns are
a) The coverage: I have freckles and like to cover them without my foundation looking heavy and cakey.
b) How long the foundation will last: I apply two light coats and buff into my skin.

So this foundation ticks both boxes. I have combination skin and find that I have to set it with powder  for a matte finish. Its a little runnier than other liquid foundations, but it blends flawlessly and felt lightweight but gave great coverage.


Concealer: Rimmel Wake Me Up RRP: $14.95
 Full coverage liquid concealer, perfect for under the eyes. Covers dark spots nicely as well as brightening up under the eye with an anti-fatigue effect. Has a wand which is easy to get the product out of the tube and apply to the face


Powder: Face Of Australia Loose Translucent Powder RRP: $11.95
After reading about this product on a lot of other blogs and seeing it being used on various youtube makeup videos I was keen to try it. At first look the powder looks quiet yellow but once applied it has very little colour. It leaves a very soft finish because it has little pigment. The fine powder reduces shine and sets foundation. The only down side about using it is the fact that loose powder can be a little messy at times.


Bronzer and Highlighter: Face Of Australia Contour and Highlight Kit RRP: $9.95
This Product has been so popular its sold out almost everywhere. I don't know of many other contour palettes under $10 that offer a matte bronzer and a shimmer highlighter together. The pigment in both are lovely and leave your cheekbones looking perfectly sculptured.


Brows: Models Prefer Essential Brow Kit RRP: $12.99
A brow kit with the lot. Powder, wax, brush and tweezers. I use the light to medium palette. My brows are quite light but I like them to be dark and filled it. I use the wax to define and shape them then fill them in with the powder.


Eye Primer: Face Of Australia Matte Eye Primer RRP: $7.95
One product most people don't know about. I always get asked about long lasting eye shadows or ones that don't crease. When I ask if they use an eye primer 95% off the time the answer is NO.
The benefits of an eye primer:
a) Smooths the surface of the eyelid
b) Gives the eye shadow something to stick to
c) Makes the eye shadow last a lot longer
d) Intensifys the colour of the eye shadow

as its a white cream. You only need the tiniest amount to apply over the eyelid. Set with a powder.


Eye shadow: L'Oreal Paris Color Riche Eye Crayon RRP: $16.95 or
 Rimmel Scandaleyes Eye Shadow Stick RRP: $12.95
This was the hardest category to pick products to recommend under $20. But then I remembered I have used both of these crayons/shadow sticks and they were really good. Lasted all day didnt fade or crease and were really easy to use and blend. I mix them together and wear the lighter brown, beige from L'Oreal and smoke it up with the Rimmel darker brown and black.


Eyeliner: Maybelline Hyper Glossy Liquid Eyeliner RRP: $9.95
I have always personally preferred a liquid pen or gel liner for eyeliner, but I thought I would try this as was on special. I found it super easy to use and the very fine brush makes it easy to get close to the lash line to apply it. Smudge proof also.


Mascara: Essence Lash Mania Reloaded False Lashes RRP: $4.95
I have talked about this mascara before, Its basically my holy grail mascara. I still haven't found a mascara under $20 that even comes close to me. Makes my lashes look so much longer, I have cried and it hasn't left me with panda eyes and its sooooooo cheap.


Lipstick: Revlon Colorburst Lip Crayons RRP: $17.95
This was the easiest product to recommend I LOVE these lipsticks for so many reasons...... I own every colour, that's how much I love them.
a) The colours are vibrant and there is something for everyone (I have sold one at the store I work at to       a 70 year old lady)
b) Options, matte really glossy or balmy
c) Moisturising. I hate matte colours that dry out my lips. These dont!!!!
d) Long lasting. Food proof.
e) The way the crayon is designed you just need to wind it up and you get value for money.
f) Peppermint tingle helps plump up your lip.
I could go on but i wont.


And there you go. Great makeup products that wont cost you a fortune. I have added a before, during and after look of wearing all the products


Until next time xox
Claudia


Wednesday, 4 June 2014

Basic eye makeup for everyday

I have 2 looks for basic eye makeup for everyday. Depending on time and where I am going.

Look a) Maybelline eye tattoo in "bad to the bronze". This is the best cream eyeshadow I have ever come across. Its Smudge proof, water resistant, doesn't crease and I love this colour for daily wear. Plus it makes my blue eyes pop.


To apply just dab onto eye lid and lightly blend into crease. Thats it eyeshadow is done.

Look b) I use 2 matte eyeshadows from Chi Chi "To the moon and back" and "Enough is enough"
Apply "To the moon and back" all over lid and blend up into crease. On the outer corner and into the crease apply "Enough is enough". Once blended it will look like a soft smokey eye on the outer corner and blended from darkest shade on the outer corner to the lightest on the inner corner.


On both looks I will use the Revlon liquid pen eyeliner (gel liner if I have more time) I like that its easy to use. I feel more comfortable using it and get a better finish. It dries quickly on my eyes and it lasts all day.
On my lower lash line I will wear a black pencil eyeliner


Next is mascara. My current favourite is Lash Mania by Essence. It makes my lashes look so good, I really wasn't expecting much from a $4.95 mascara (I shouldn't judge a book by its cover)  it is clump free and I have worn it and cried and it hasn't given me panda eyes yet its not waterproof.


Last but not least.......(well I do mine before my eye makeup)  most important step BROWS
Brows work wonder. I never use to do mine and cringe  when I see old photos. But these days I love dark defined brows. I use the Essence brow stylist kit. This is perfect for beginners it comes with stencils so you can get perfect brows.


And thats my basic eye look for everyday hope you have enjoyed

Until next time xox

Claudia

Wednesday, 28 May 2014

Basic Contouring


Contouring the face can be scary.......When I first started getting into makeup a few years ago I avoided it like the plague. I then became confident contouring others just not myself, but I have slowly got there and now I am obsessed with blushes, highlighters and bronzers.


Bronzers: I haven't always been a fan of bronzers. I think that came down to incorrect colour and application. After trial and error on a few different types (powders, liquids, creams) I am more comfortable now with them.
I like using a matte powder bronzer. I apply with it with an angled brush (I get a nicer definition) 
I suck my cheeks in and apply to the hollows of my cheeks and blend up to my hairline and around my temples.


Blush: I apply my blush on the apples of my cheeks (you can find your apples by smiling and it's the chubbiest part of your cheek) then blend it up between the hollows of the cheek and the cheekbone. It's important to apply this lightly and correctly. You don't want to look like you have stepped back to the 80s with strong harsh blush line up the side your face (YIKES). Blush is meant to look soft and natural like you have a natural glow


Highlighter: I use a powder highlighter but i also like a liquid one. I wear a highlighter on my cheekbone. You can apply ii on areas where the sun would naturally hit, but I am keeping this post sweet and simple and will do another post soon on contouring the whole face.


Until next time xoxo

Saturday, 24 May 2014

Basic Makeup Base Application

I have written this in the steps I do to apply my base for my makeup. I have explained what I use and why. I have included some of the products I use also. All drugstore products and all affordable..... Hope you enjoy x

1. Primer: This is my absolute MUST have when applying makeup. Without it my pores look bigger, my foundation doesn't stay on and it just doesn't give me a flawless finish.
A lot of people will skip this step and I have heard all the excuses. It takes about 20 seconds to apply and I would rather take 20 seconds in the morning to apply a primer than spend time later in the day reapplying my foundation. 


2. Foundation: I prefer a full coverage foundation or one that has a buildable coverage. I have freckles (a lot of people don't know because I cover them) I apply with a foundation brush and blend,blend blend. Don't forget to blend down your neck. No one wants to see a line around your jawline


3. Concealer: I use a liquid base concealer with a yellow tone to it. I find this to help with covering dark spots and brightens under my eyes. I apply using my ring finger to dab the product over the area this way you will have control over the concealer and be able to use little product and get the benefits from it as apposed to rubbing it over the area. Rubbing moves the product around and doesn't let it focus on the the exact area.


Powders: I like to use 2 powders. I use a coloured pressed powder and a loose translucent powder because I get an oily T zone. Setting a liquid foundation with a pressed powder all over will add a bit of colour to my face, take away any shine and help get maximum wear from my foundation. I then apply a small amount of loose powder over my T zone. This helps with keeping the shine away.


hope you have found this to be helpful. I will be posting my basic highlighting/contouring routine in a few days 

Until next time xox